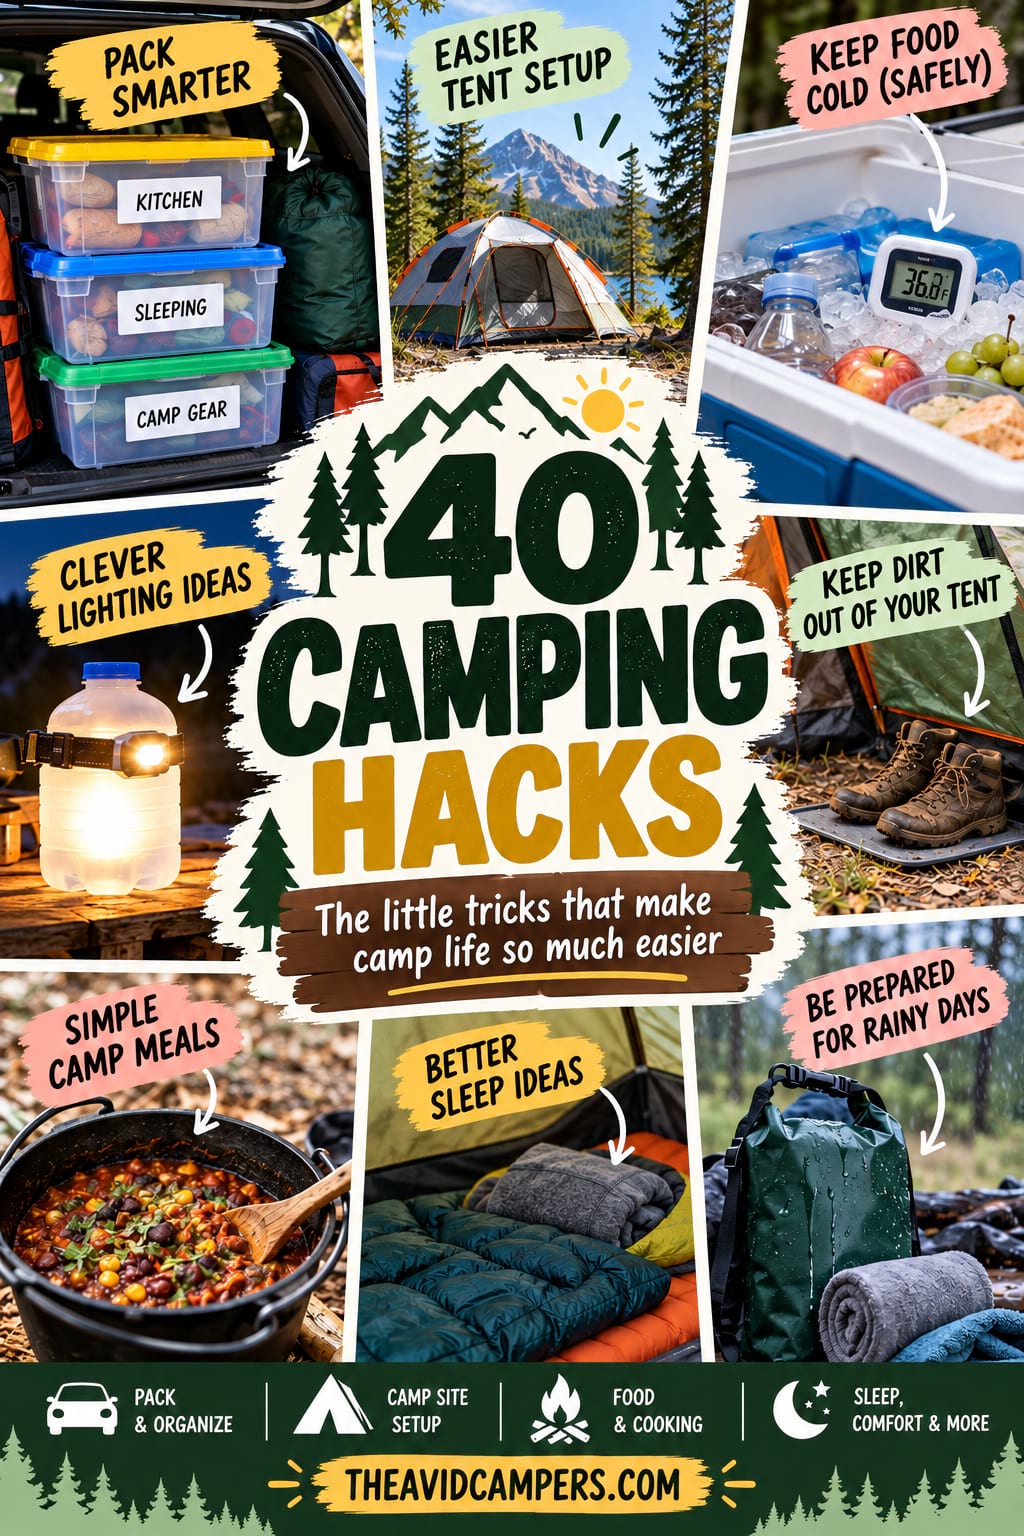
40 Camping Hacks Every Camper Should Know
Whenever I’m packing for a trip, whether it’s a weekend away or a camping trip, I always promise myself that this time I’m going to pack efficiently. And yet, somehow, I still end up taking half the house with me — only to come home having used about a third of what I packed.
Camping can be particularly tricky because there are so many things you might need. Some are obvious, some are incredibly easy to forget, and others are things you don’t realise would be useful until you’re already at the campsite wishing you’d thought of them.
After a few trips, though, you start working out what actually makes camping easier. How you pack the car. Where you keep the headlamps. What you can prepare before leaving home. How to stop everything inside the tent getting covered in dirt within the first few hours.
And that’s really what these camping hacks are about.
They’re not complicated DIY projects or things you need to buy specifically for one camping trip. Most are simple ideas that can save space, keep you better organised, cut down on washing up or just remove one small annoyance from your trip.
You certainly don’t need to use all 40. But even if you come away with a handful that make your next camping trip a little easier, they’re worth knowing.
This post contains affiliate links. As an Amazon Associate, The Avid Campers earns from qualifying purchases. If you buy through one of these links, we may earn a small commission at no extra cost to you.
Packing and Organization Hacks
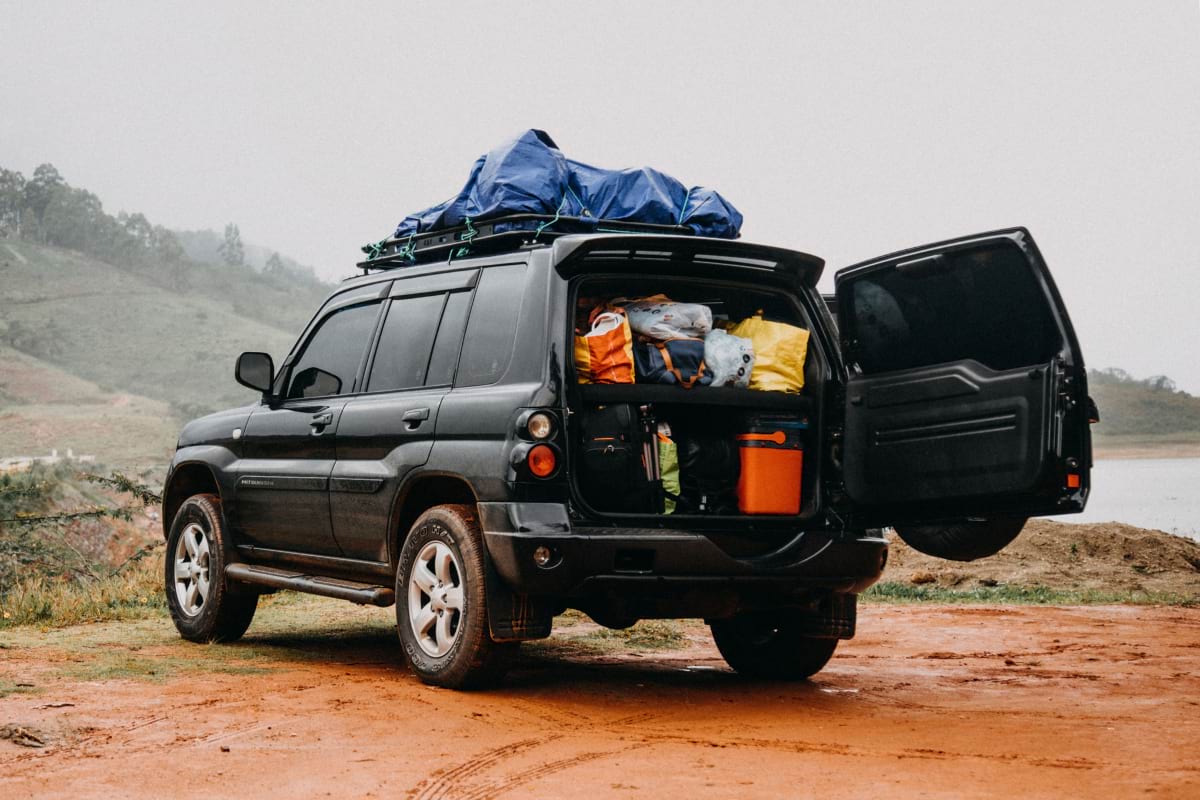
1. Pack camping gear in categories, not wherever it fits
It is very easy to pack the car like a game of Tetris, squeezing things into whatever gap is available. The problem starts when you arrive and can’t remember which of the six bags contains the thing you need.
Instead, group your gear by what you actually use it for: kitchen, sleeping, lighting, clothing, hygiene and general campsite gear.
For car camping, stackable boxes or tubs are particularly useful because an entire category can come out of the car at once. Your kitchen box goes to the cooking area, your sleeping gear goes to the tent and so on.
If you’re still deciding what belongs in those boxes, use our Complete Car Camping Checklist as your starting point rather than packing for every possible camping scenario.
2. Colour-code your camping boxes
This is one of those ridiculously simple systems that becomes more useful the more gear you have.
Put a coloured sticker or strip of tape on each storage box and assign each colour a category. Yellow might be kitchen gear, blue could be sleeping equipment, green could be general campsite supplies.
Then keep a simple note on your phone showing what each colour means.
You don’t necessarily need a detailed inventory of every fork and tent peg. The aim is to be able to open the car, spot the yellow box and immediately know that’s the one heading to the picnic table.
3. Make one small “first out of the car” box
Not everything should disappear into your main storage tubs.
Keep a smaller bag or box for the things you’re likely to need as soon as you arrive: headlamps, tent stakes, a mallet, bug spray, sunscreen and perhaps a light jacket.
This becomes especially useful if you arrive later than planned. Instead of opening several boxes before you’ve even pitched the tent, the immediate essentials are already together.
4. Pack the car in reverse order
Before loading the car, think about the order in which things will come out at the campsite.
The tent, footprint, chairs and setup equipment are usually among the first things you’ll want, so don’t bury them beneath everything else.
Clothes and gear you won’t need until later can go deeper into the trunk, while your first-night equipment stays accessible.
It’s a tiny bit of planning at home that makes arriving at camp much less chaotic.
5. Keep a permanent camping kitchen box
If you camp regularly, rebuilding your camp kitchen from scratch before every trip is an easy way to forget something.
Keep inexpensive duplicates of the basics together: utensils, tongs, can opener, bottle opener, lighter, cutting board, dishcloth, sponge and the other small things you use every time.
Then you only need to replenish consumables before the next trip rather than raiding the kitchen drawers again.
A good kitchen box doesn’t need to contain every gadget you own. Our Camping Kitchen Essentials covers the pieces that are genuinely useful if you’re putting yours together for the first time.
6. Photograph your camping boxes once they’re packed properly
Once you’ve found a system that works, take a photo of each open box showing how you’ve packed it.
Pair those photos with your colour-coded labels and keep them in a dedicated album on your phone.
Before the next trip, you can quickly check the photos and see whether anything obvious is missing. They’re also useful at camp when you can’t remember whether something was packed in the kitchen box or the general gear box.
It is essentially a visual packing list — and for me, that is much quicker to process than a huge checklist of tiny items.
Tent and Campsite Setup Hacks
7. Walk around the campsite before you unload the car
Before deciding where everything goes, spend a few minutes actually looking at the site.
Check the ground for obvious slopes, low spots where water could collect, rocks and roots. Look above you as well: dead or damaged branches aren’t something you want hanging over the tent.
Then think about how you’ll use the space. Where will you cook? Which route will everyone take to the car? Where will muddy shoes go? Where does the sun hit first thing in the morning?
If you’re at a developed campground, some of those decisions may already be made for you. But even then, five minutes spent looking around can prevent an awkward setup you’ll be working around for the rest of the trip.
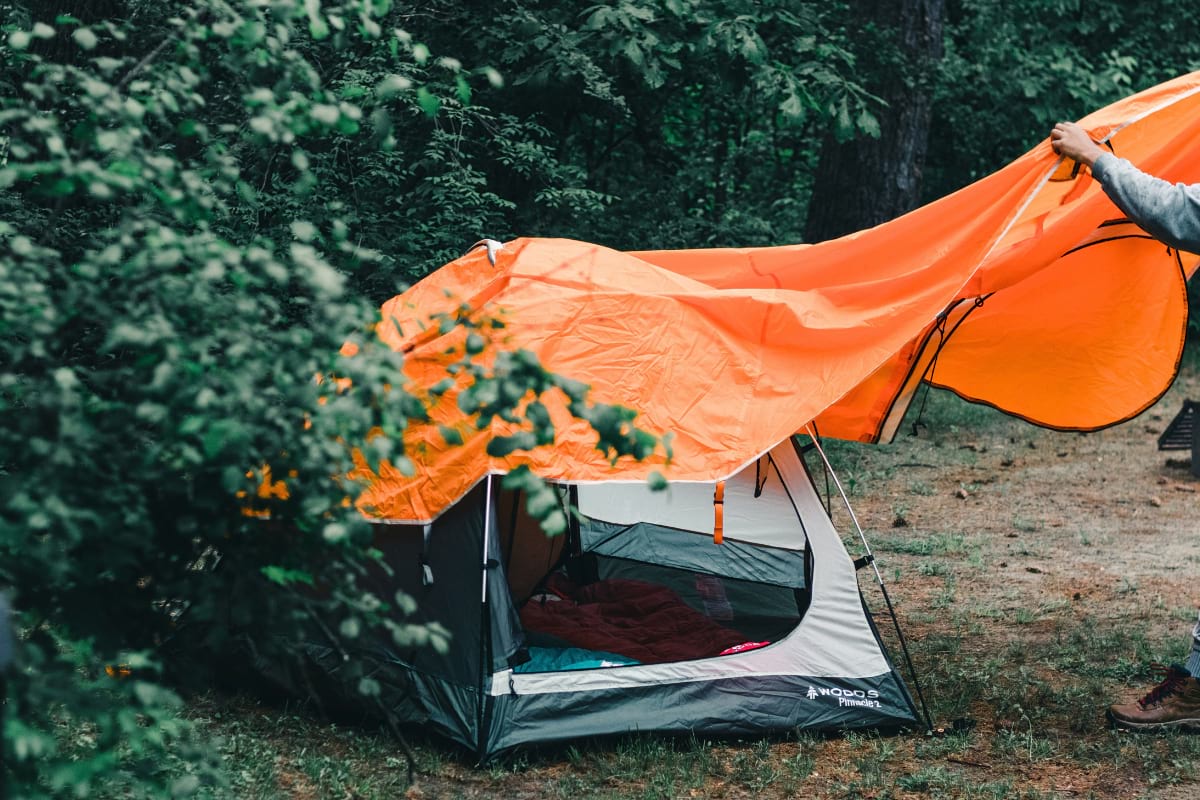
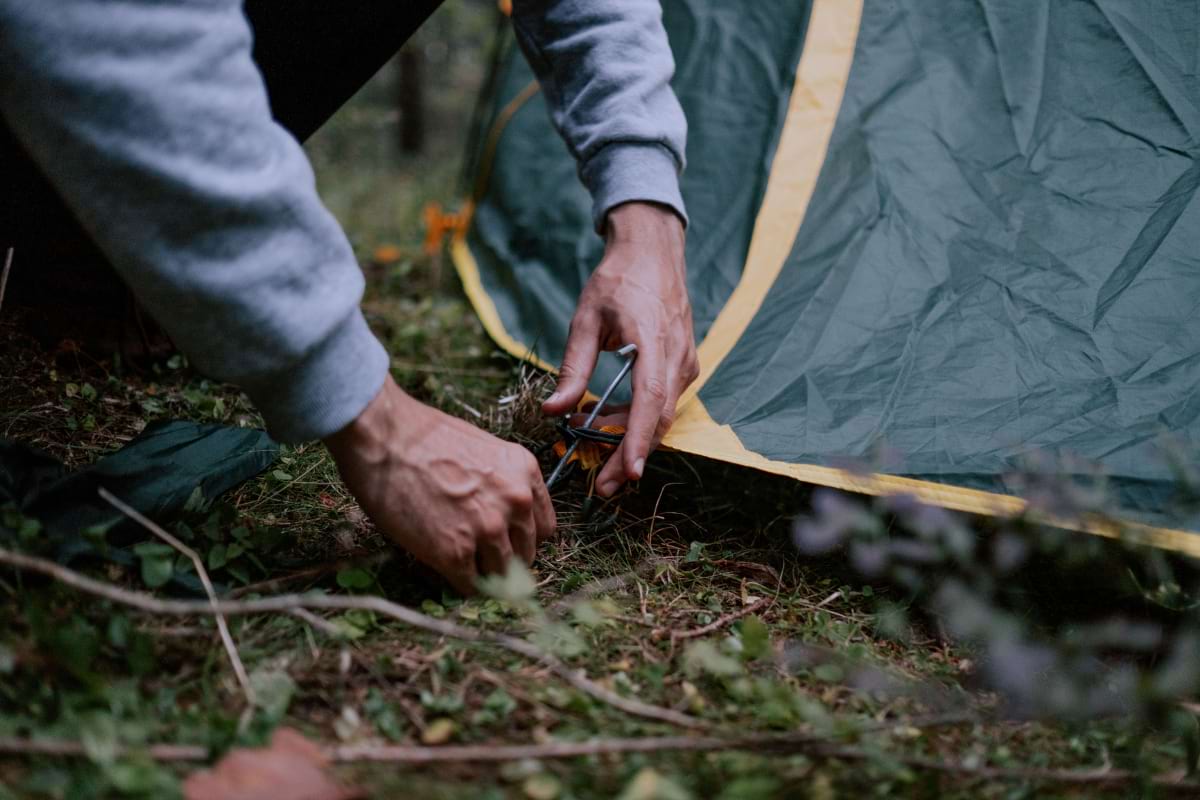
8. Make sure your tent footprint doesn’t stick out
A tent footprint can protect the bottom of your tent from abrasion and provide another barrier between the tent floor and damp ground.
But if you’re using a tarp or footprint that extends beyond the edges of the tent, fold the excess underneath.
Otherwise, rain can land on the exposed material and run underneath the tent — exactly where you don’t want it.
A footprint isn’t automatically necessary for every tent or every trip, which is something we cover in much more detail in What Is a Tent Footprint?
9. Photograph a new tent the first time you pitch it
When you pitch a new tent at home, take a few photos while everything is fresh in your mind.
Photograph how the poles connect, where the rainfly attaches and any less-obvious clips or guy lines.
You may never need the photos. But six months later, when you’re trying to remember which way the rainfly goes while daylight is disappearing, having a quick visual reference on your phone can be extremely useful.
Create a camping album on your phone and keep these alongside the photos of your storage boxes. Then all your visual references are in one place.
10. Download the tent instructions before you leave home
If the tent manufacturer has an assembly video, download it to your phone before the trip. Do the same with a PDF instruction manual if one is available.
Don’t assume you’ll be able to pull up YouTube or the manufacturer’s website when you arrive.
Campsite reception can range from perfectly fine to absolutely nothing, and offline instructions are especially useful if you’re using a new tent or another piece of unfamiliar camping equipment.
Better still, pitch a new tent once at home before the trip. You’ll learn the setup somewhere comfortable and also discover immediately if a pole, stake or other part is missing.
11. Make your guy lines visible after dark
Guy lines are surprisingly difficult to see once the light disappears.
Reflective guy line is the easiest solution, but you can also add reflective markers to the lines that cross the areas where people naturally walk around your tent.
Don’t wait until someone trips over one to decide which lines need marking.
If you’re camping with children, or you’re moving around camp frequently after dark, this becomes even more worthwhile.
12. Create a shoe station outside the sleeping area
Choose one place for shoes rather than allowing them to migrate into the tent.
If your tent has a covered entrance area, that’s ideal because your shoes can stay outside the main sleeping space while still being protected from rain. Otherwise, create another sheltered spot immediately beside the entrance.
Add a small mat or old towel to stand on while taking shoes off.
It seems insignificant until you’ve spent a few days somewhere sandy or muddy. Keeping the majority of that dirt outside makes the tent much easier to live in.
13. Give everything a home from the beginning
The easiest time to organize a campsite is while you’re setting it up.
Decide where headlamps go. Choose one place for car keys. Give wet towels somewhere to hang and dirty clothes somewhere to collect.
Without those little systems, gear gradually spreads across the picnic table, tent and car until nobody knows where anything is.
You don’t need a Pinterest-perfect campsite. You just need to know where to look when you need something.
14. Don’t unpack everything just because you brought it
There is no rule saying the entire contents of the car need to become part of the campsite.
Leave spare clothing, backup gear and anything you aren’t using packed away until you need it.
You’ll have less clutter around camp, fewer things exposed to dirt and damp, and considerably less to repack when it’s time to leave.
Lighting and Night-Time Hacks
15. Turn a headlamp and water jug into a soft lantern
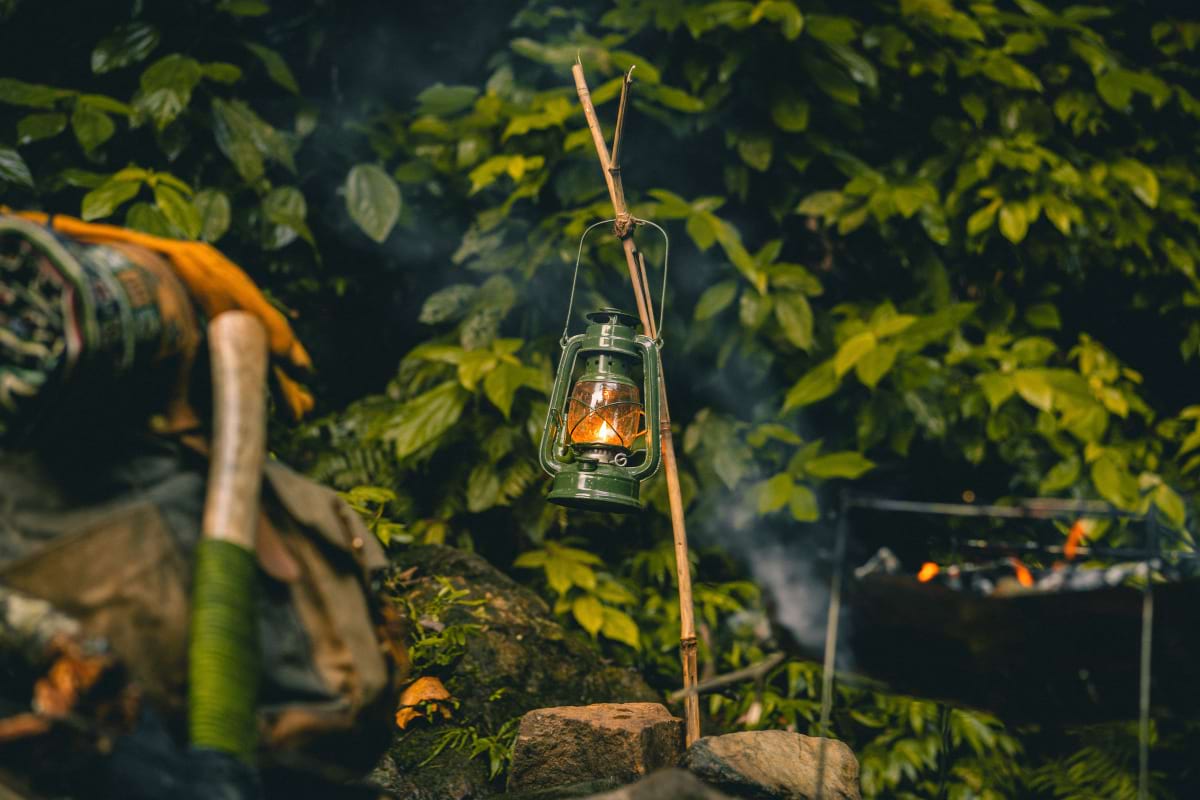
If you want softer light around a picnic table, strap a headlamp around a translucent water container with the beam facing into the container.
Instead of one concentrated beam, the light is diffused over a wider area.
It’s particularly useful when several people are sitting around a table and nobody wants a headlamp shining directly into their face.
You don’t need to pack a special piece of equipment for it either — you’re simply getting another use out of two things already at camp.
16. Give every headlamp a permanent home
Headlamps are most useful at precisely the moment they’re hardest to find.
Choose one place for them and stick to it: a pocket near the tent entrance, a hook inside the tent or a specific compartment in your camping box.
The same applies to your car keys.
Once everyone knows where these important little items live, you stop having the nightly “Has anyone seen the headlamp?” search.
17. Get your headlamp out before it gets dark
Don’t wait until darkness arrives.
As the light starts fading, take your headlamp out of its usual spot and put it around your neck or in a pocket.
That way, if you’re still cooking dinner or sorting out the campsite when it becomes properly dark, it’s already with you.
It’s particularly helpful on the first evening when you’re still learning where everything is.
18. Aim campsite lighting at what you’re doing
A bright lantern isn’t necessarily useful if half its light is illuminating the neighbouring campsite.
Position lights above or beside the areas where you actually need them and angle them down towards the table, cooking area or ground.
You’ll usually need less light than you think, preserve more of your night vision and avoid dazzling everyone around you.
Camping Food and Cooler Hacks
19. Pre-chill your cooler before packing it
Putting cold food into a cooler that has been sitting in a hot garage means some of your ice immediately gets used cooling the cooler itself.
If possible, cool it down before packing. Even putting ice or frozen packs inside for a while beforehand can help.
Then load food straight from the refrigerator or freezer rather than leaving it sitting on the kitchen counter while you finish packing.
For perishable food, the aim is to keep it at 40°F (4.4°C) or below. That doesn’t mean the food needs to be frozen — 40°F is the upper limit for keeping chilled perishable food safely cold.
20. Use frozen water bottles as part of your cooler setup
Freeze a few bottles of water before the trip and use them alongside your normal ice or freezer packs.
They add cooling capacity without producing loose meltwater inside the cooler, and as they thaw you gain extra drinking water.
Just don’t treat frozen bottles as a guarantee that perishable food is cold enough. A small cooler thermometer takes away the guesswork.
21. Pack the cooler in reverse order too
The same reverse-order trick you used for the car works surprisingly well for food.
Put the things you’ll use later towards the bottom and keep the first day’s food closer to the top.
You’ll spend less time digging through the cooler with the lid open and it’s easier to see what you actually have.
There are a few other simple ways to keep food cold when camping, but this is one of the easiest habits to adopt straight away.
22. Keep raw meat below ready-to-eat food
If you’re carrying raw meat or poultry, seal it securely and keep it beneath foods that can be eaten without cooking.
That way, a leaking package is less likely to drip onto cheese, fruit, salads or anything else you’re planning to eat as-is.
If you have enough space, keeping raw meat in its own cooler makes separation even easier.
23. Consider a separate cooler for drinks
On a warm day, the drinks cooler gets opened constantly.
If you have the space and are camping for more than a night or two, separating drinks from perishable food means the food cooler can stay closed for longer.
It also means you’re not constantly opening and rummaging through the cooler containing your meals every time someone wants a cold drink.
24. Prep as much food as you reasonably can at home
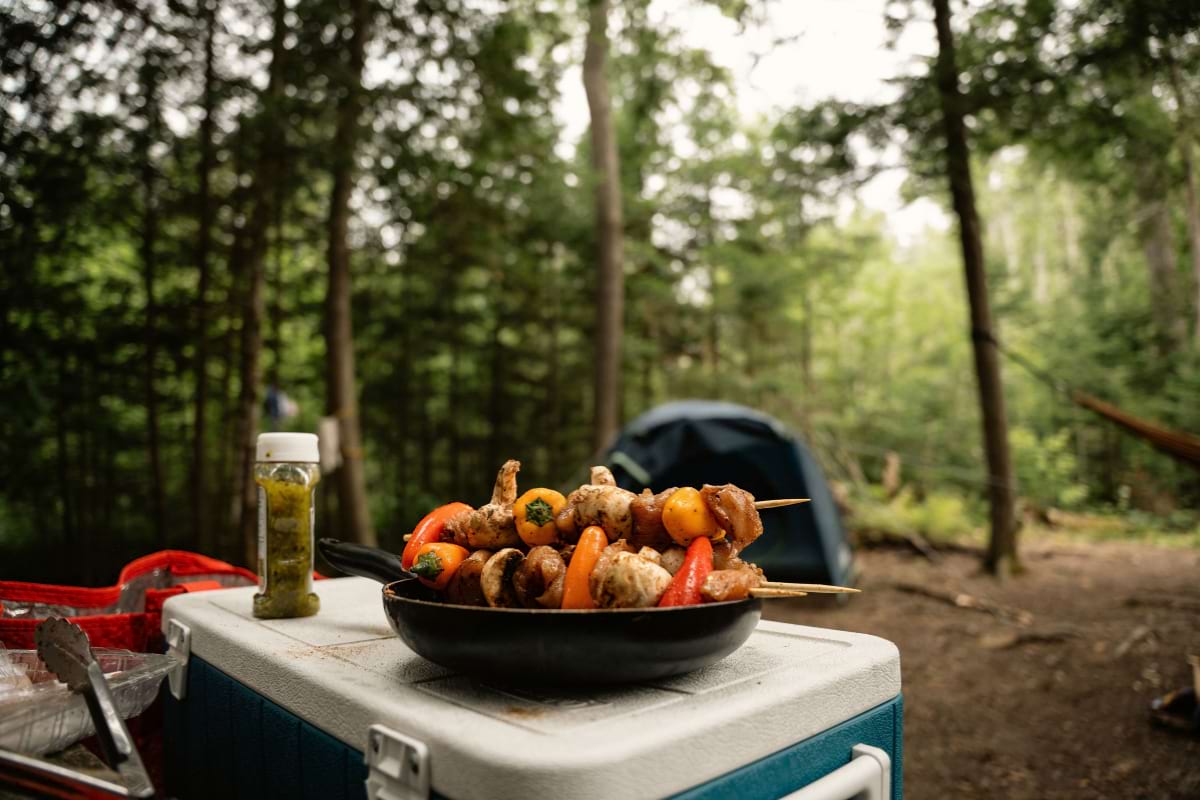
Chop vegetables, make marinades, portion ingredients and prepare whatever can safely be done before leaving.
You’ll have a proper kitchen, running water and considerably more counter space at home.
At camp, that means fewer utensils, less food waste and much less washing up.
It’s also why make-ahead camping meals can be so useful. You do most of the preparation at home, leaving far less to chop, mix and clean up once you’re at camp.
25. Decant ingredients instead of taking full-size containers
You probably don’t need an entire bottle of olive oil or six full spice jars for a weekend away.
Work out roughly what you’ll use and transfer sensible amounts into smaller, clearly labelled containers.
It saves space in your kitchen box and makes it much easier to keep the cooking area organized.
Just make sure anything you’ve decanted is labelled clearly enough that nobody has to guess what’s inside.
26. Always have one almost-no-cooking meal
This is the meal for the evening when you arrive late, the weather turns, you’re exhausted after a long day or nobody feels like cooking.
It could be wraps, sandwiches, a prepared pasta salad or something you’ve already cooked that only needs reheating.
You may not use it.
But when you do need it, you’ll be extremely glad it’s there.
27. Use one-pot meals when you want less washing up
The advantage of a one-pot camping meal isn’t only that it’s easy to cook.
One pot means fewer cooking utensils, less washing water and a much quicker cleanup afterwards.
That becomes especially valuable at campsites where water isn’t immediately beside you.
We’ve collected 20 one-pot camping meals built around exactly that idea, so you don’t need to fall back on the same pot of chilli every trip.
28. Make breakfast one of the easiest meals of the day
Nobody wants to spend every morning at camp preparing an elaborate breakfast before they’ve even had their first coffee.
Portion pancake ingredients beforehand, make overnight oats, prepare breakfast wraps that only need reheating or choose something you can assemble quickly.
Save the more ambitious camp cooking for later in the day when you actually feel like doing it.
Our camping breakfast ideas include plenty of options that work without turning the picnic table into a full kitchen at 7 a.m.
Cleanup and Hygiene Hacks
29. Set up hand washing before you start cooking
Don’t wait until your hands are covered in food to discover the soap is inside a storage box.
If your campsite doesn’t have a convenient sink, establish your hand-washing setup when you organize the kitchen area.
Keep clean water and soap together, and have hand sanitizer available as a backup when necessary.
It’s a basic system, but setting it up in advance makes good food hygiene much easier to maintain.
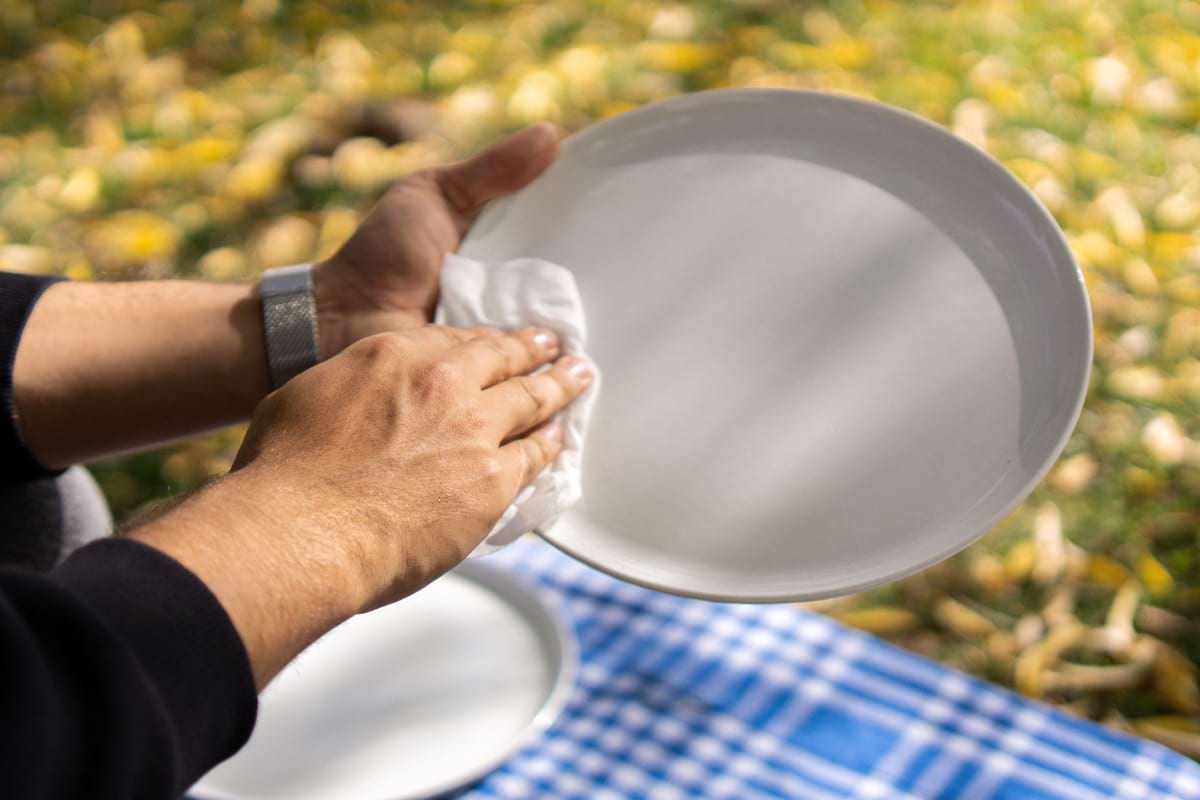
30. Scrape and wipe cookware before adding water
Remove as much leftover food and grease as possible before washing pots and pans.
You’ll use less water and end up with much cleaner dishwater.
Food scraps should go with your rubbish rather than being dumped around the campsite. If you’re somewhere without designated grey-water disposal, check the rules for that particular campground or park — requirements vary, especially in backcountry and wildlife areas.
31. Create a separate bag for wet gear
Wet swimming clothes, muddy clothing and damp towels have a habit of making everything around them damp too.
Keep a designated waterproof or water-resistant bag or tub for transporting them separately.
The important word here is transporting. Don’t seal damp gear inside for days. Hang it out to dry as soon as conditions allow, then use the bag again when you’re packing up.
32. Decide where wet towels will go before you need somewhere to put them
If the campground permits it, set up a drying line or designated drying area early in the trip.
Check the site’s rules before attaching anything to trees or campground structures; some places prohibit it entirely.
Where lines are allowed, use wide, tree-friendly straps rather than anything likely to damage bark.
Otherwise, a vehicle-mounted drying setup, camp rack or other permitted option can do the same job.
33. Keep toilet paper in a waterproof bag
Even if you’re staying at a campground with proper facilities, having your own toilet paper is sensible.
Keep it inside a resealable waterproof bag rather than loose in your general gear.
It takes almost no effort and protects one camping item you really don’t want discovering has become damp.
Sleeping and Comfort Hacks
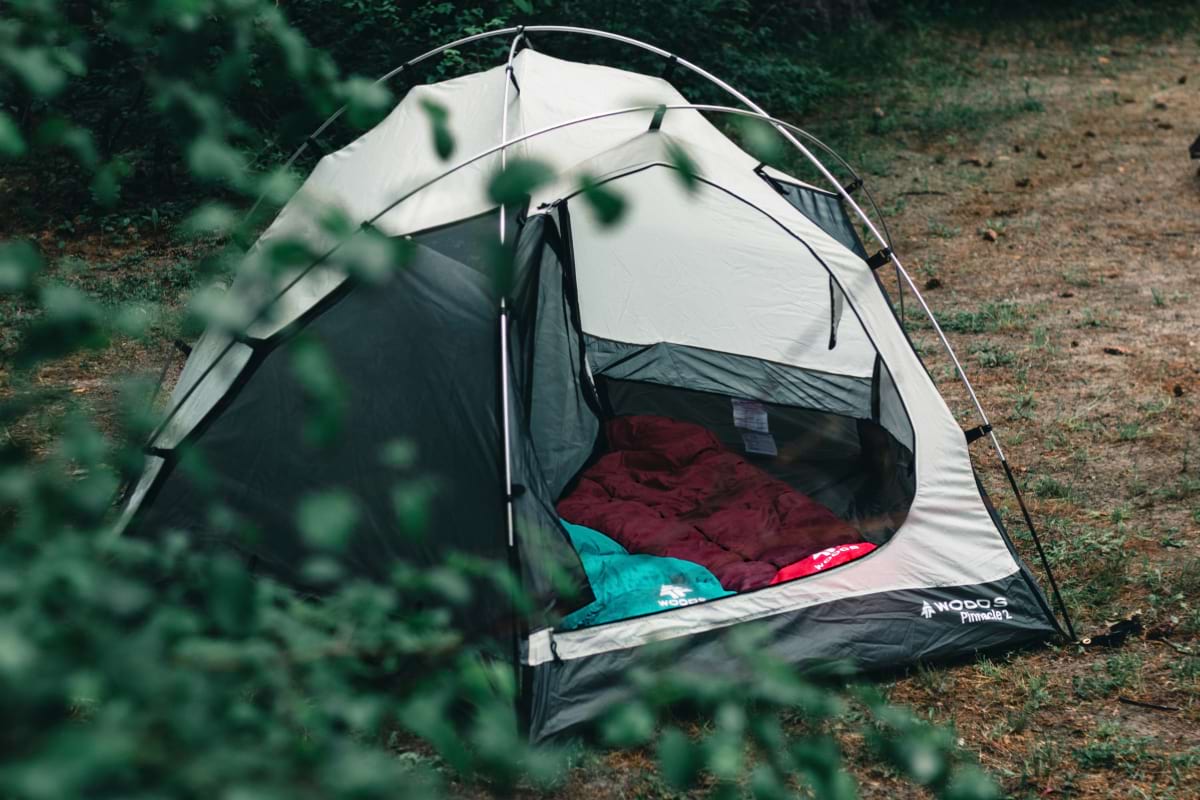
34. Keep a completely dry set of clothes for sleeping
Try not to climb into your sleeping bag wearing the same damp clothes you’ve been hiking, cooking or sitting around camp in all evening.
Keep a dedicated sleep layer and dry socks protected inside your tent or another genuinely dry place.
Changing into something dry before bed can make a significant difference to how comfortable you feel when the temperature drops.
35. Put tomorrow morning’s clothes somewhere easy to reach
Before getting into bed, pull out whatever you’re likely to wear the following morning.
Keep it inside the tent where you can reach it without unpacking your whole bag.
On colder trips, this has the added advantage of keeping those clothes out of the coldest part of your setup.
And if low temperatures are a recurring problem, How to Stay Warm in a Tent covers the subject in much more detail than we need to here.
36. Use a stuff sack as a makeshift pillow
Once your sleeping bag is out, its stuff sack is sitting there doing very little.
Fill it with a fleece, T-shirt or other soft clothing and it can double as a simple pillow.
The trick is choosing genuinely soft items rather than stuffing it with whatever happens to be available. A zipper pressed against your cheek at 3 a.m. rather defeats the purpose.
37. Use soft gear to fill awkward gaps in the car
Sleeping bags, blankets and pillows don’t always need their own perfectly rectangular piece of trunk space.
Use them to fill the gaps between boxes and larger equipment.
It makes better use of awkward spaces and can also stop hard storage tubs shifting around as much while you’re driving.
Rain and Bad-Weather Camping Hacks
38. Keep one full change of clothes completely protected
Even if the forecast looks reasonable, put one complete change of clothes — including underwear and socks — into a dry bag or properly sealed waterproof bag.
Then leave it there.
If other clothes get wet, you’ve always got one genuinely dry set waiting for you.
It’s a simple backup, but after a day of persistent rain it can feel like an enormous luxury.
For trips where wet weather is actually expected, our Camping in the Rain guide covers everything from campsite setup to keeping gear dry in much more detail.
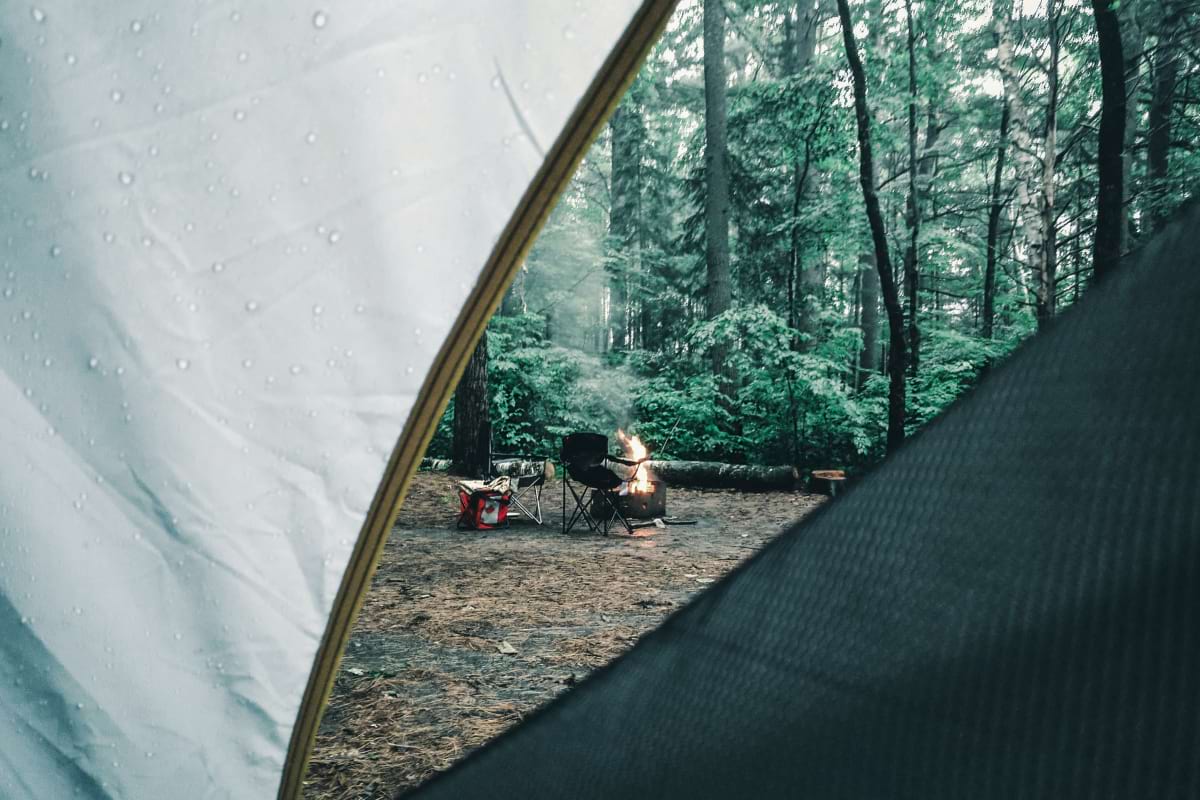
39. Keep a small towel somewhere you can reach before entering the tent
Leave a small absorbent towel in the covered entrance area, car or another sheltered place.
Use it to wipe wet legs, feet, hands or gear before bringing everything inside.
Once the inside of the tent and your sleeping gear become damp, getting them dry can be difficult. Preventing some of that moisture from coming in is much easier.
Before You Leave
40. Do one final campsite walk with empty hands
Once the car is packed, don’t immediately drive away.
Walk slowly around the entire campsite one last time without carrying anything.
Look where the tent stood, underneath the picnic table, around the fire ring, beside trees and around the parking area. Tent stakes disappear into grass surprisingly easily, while headlamps, charging cables, water bottles and small pieces of rubbish are equally easy to overlook.
Doing the walk with empty hands matters because you’re actually looking rather than thinking about what you’re carrying back to the car.
It also gives you one final opportunity to pick up food scraps, small pieces of rubbish and anything else that shouldn’t be left behind.
A Few Camping “Hacks” We Would Skip
There are plenty of clever-looking camping hacks online that I wouldn’t recommend simply for the sake of having another trick to try.
Be particularly careful with shortcuts involving food storage, wildlife and fire.
Food-storage rules aren’t universal. In some places your vehicle may be acceptable; elsewhere food, rubbish, toiletries and other scented items need to go into a provided locker or an approved bear-resistant container. Check the rules for where you’re actually camping rather than relying on a generic food-hanging trick you saw online.
I’d also skip homemade fire starters involving questionable accelerants or materials that weren’t intended to be burned. If fires are permitted, use the designated fire area and proper fire-starting materials.
And don’t assume that because you have room in the car, bringing firewood from home is a good idea. Moving firewood can spread invasive insects and diseases, and many parks actively discourage or restrict it. Buy it near your destination or follow the rules at your campground.
The same principle applies to all 40 hacks above: if the campground or park has a rule that conflicts with a camping hack, the rule wins.
The Best Camping Hacks Are the Ones You Keep Using
You probably won’t remember all 40 of these on your next trip, and you don’t need to.
The useful ones are the ideas that gradually become part of the way you camp.
Maybe you start colour-coding the boxes because you’re tired of opening every one to find the stove. Maybe you download the tent instructions because you’ve been caught without reception before. Or perhaps you finally create a permanent kitchen box and stop stealing the can opener from your kitchen drawer every time you go away.
That’s really the point.
A good camping hack should remove a bit of unnecessary effort from the trip — not give you another complicated thing to do.
And if I can eventually work out how to apply that same logic to my habit of packing half the house and using a third of it, I’ll consider that a win too.